
It is my pleasure to again feature SnickerdoodleDesigns here on the CUDigitals blog. Whether you are familiar with her work or this your first look, there is a lot to see and learn!
 Let’s learn a little about Karen Schulz, the talent behind SnickerdoodleDesigns in her own words.
I am married, with 2 children, and 3 grandchildren. Our newest grandson is just 2 months old, and it’s wonderful to have a baby in the family again.
I’ve been designing CU products for 2 years and designing PU products for 4 years. While designing PU products, I found the need for some elements or patterns I couldn’t find anywhere, so decided it was time to start making those things myself!
The software I use most often is Photoshop CS6; however, I also use Illustrator, Art Rage, and a variety of other small programs.
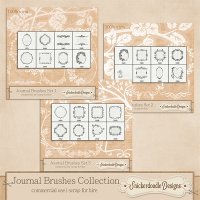
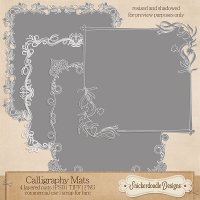
Here are a few of Karen’s CU products available at CUDigitals. She has a large selection of very high-quality, carefully crafted items to assist you in your own designs.



More from Karen: My favorite time of the day to design is in the early morning hours or the late evening hours, when the house is quiet and still. When I am not working, I love to travel with my husband. We love visiting foreign countries and learning about different cultures.
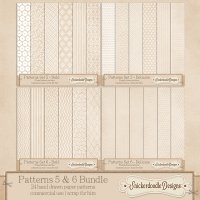
These are Karen’s bestsellers



Random facts: My favorite beverage has to be Diet Dr. Pepper, hands down! If I could learn anything it would be to keep my life in perfect balance, with no effort at all.
Some of Karen’s favorite products are her border buddies shown below and her calligraphy edges and borders - in the store HERE.
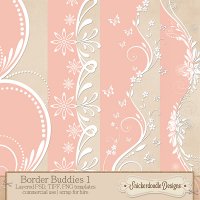

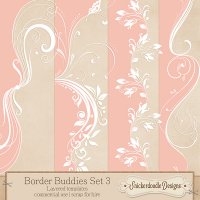


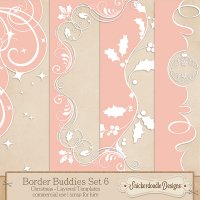


Karen has generously offered our fans and customers her full Border Buddies Set 1 FREE through Feb 28. You can get it in the store here.
And now here is a fantastic tip on adjustment layers that Karen is sharing with us. This technique will probably become an important part of your design arsenal after you read it! THANKS, Karen!
Let’s take a look at the Invert Adjustment layer and how it can help us get more use out of our digi-stash!
An Invert Adjustment Layer inverts the colors of a selected layer, causing those colors to become their opposites on the color wheel. For example, black will become white, white will become black, purple will become green, and red will become purple. The Invert Adjustment acts the same in Photoshop and Photoshop Elements.
In Photoshop, the Invert Adjustment Layer option is in the Adjustments Panel. The icon looks like a rectangle, with a circle inside. This is a screenshot from CS6.

In Photoshop Elements, you will find it by going to Layer > New Adjustment Layer > Invert (Screenshot from PSE11).

I imagine you are like me and like to get as much “mileage” out of your digital scrapping supplies as possible. I am always looking for ways to increase their usage, and one of the ways I have found is with the use of an Invert Adjustment Layer. Let’s take a look at an overlay.
In the image below is a pink background paper, with a Friendship Quote Overlay placed on a layer above it. It’s not very attractive; the text is too dark for this paper for the look I am going for. We can fix this easily with an Invert Adjustment layer. (The quote overlay is one of Karen’s PU products but you can use this technique with all your CU overlays too!)

Click on the Invert Adjustment Layer icon to create a new adjustment layer. Because the Invert layer causes colors to become their opposite, you will see something like this: the black text became white, and the pink became a blue/green color.

Yikes! That’s not what we want. Let’s just clip that Invert Mask to the Overlay! (To do this hold down ALT, hover your mouse between the Overlay and the Background, and click.)

Ahhh, that’s much better.

Now, if you like, you can play with the opacity of the text overlay (not the Invert layer) to make it even more “gentle” on the page.
What a great tip!
Now before we close our feature for this week, of course Karen has a GREAT sale on her CU products. What a great time to stock up on some amazing tools that make your designs really stand out! Click the ad to go shopping in Karen’s store.

Did you find this useful? Subscribe to the CUDigitals weekly newsletter and never miss another tip! And be sure to follow us on Facebook for a CU freebie overlay set and daily links to helpful articles for your digital scrapbook design business.

Awesome tip Karen - thank you so much for making it so easy to follow!!
ReplyDeleteThis is a great tip. I had no idea. I have already used this technique using PSE12 and it worked perfectly. Thank you so much!
ReplyDeletethank you so much! love the border buddies. Hope to get the valentines set soon. I hope you come out with a St. Patty's set too!
ReplyDelete